Monday, October 25, 2010

Four Pack Abs

You may recall my post a while back, about how I was going to get a six pack, because I wanted one.  Well, I'll spare you the bare belly photo of myself, but I have a four pack now.  Those elusive lower two may never show up.

I've been working out daily for at least an hour, and eating better.

I cannot seem to follow a strict diet.  I think part of that reason is that I am one of the lucky few who needs to get toned, but I don't really need to lose weight.  Most diets are just designed to shed pounds.  For me that's not good.

Here's what changes I've made:

Whole grains (whole wheat, wild and brown rice, etc.)
Half a plate of veggies with every meal.
Fat from natural sources like fish, avocados and nuts.


A lot less sugar (probably time to take my Jelly Bean jar off the counter though.)

I'm pleased with my results so far.  It's been a lot of hard work, but to see a change makes me really happy.  My competitor in this six pack race has won, but I'm a happy second place.  Now I think I'll actually take "before" pictures and start all over again.

Creamy Chicken and Wild Rice Soup

I'm not a huge fan of soup, as a rule. Actually, I'm just not a huge fan of soup as the main course of a meal. It never really seems to fill me up. This one was an exception.  Serve it with homemade dinner rolls and it's meal.
Creamy Chicken and Wild Rice Soup

Here's the original recipe (from Allrecipes.com):

Ingredients

  • 4 cups chicken broth
  • 2 cups water
  • 2 cooked, boneless chicken breast halves, shredded
  • 1 (4.5 ounce) package quick cooking long grain and wild rice with seasoning packet
  • 1/2 teaspoon salt
  • 1/2 teaspoon ground black pepper
  • 3/4 cup all-purpose flour
  • 1/2 cup butter
  • 2 cups heavy cream

Directions

  1. In a large pot over medium heat, combine broth, water and chicken. Bring just to boiling, then stir in rice, reserving seasoning packet. Cover and remove from heat.
  2. In a small bowl, combine salt, pepper and flour. In a medium saucepan over medium heat, melt butter. Stir in contents of seasoning packet until mixture is bubbly. Reduce heat to low, then stir in flour mixture by tablespoons, to form a roux. Whisk in cream, a little at a time, until fully incorporated and smooth. Cook until thickened, 5 minutes.
  3. Stir cream mixture into broth and rice. Cook over medium heat until heated through, 10 to 15 minutes.


I changed it a little, because I didn't have everything on hand.  I used whole milk, instead of cream.  Next time I may even use skim, because I don't think it would change the finished product the way it is used.

I also added large chunks of carrots, because I LOVE cooked carrots.  They added a nice change in texture and a sweet counter to the savory flavor of the soup.  I would have liked to add celery, but alas the only celery I had was molded and smooshy in the bottom of my vegetable bin.  (I've since cleaned and replaced the bin :-)

I didn't have Wild Rice with Seasoning Packet so I just used 1/2 c. wild rice (4.5 oz. is 1/2 plus 1/16th cup), and to taste (probably a quarter tsp. each) garlic, onion powder, fresh ground pepper, and poultry seasoning.  I let it boil a little longer than called for, because it wasn't a quick-cook rice.  Next time I'll cook the rice separately and add it in for the last five minutes.  I may add more rice too, I like wild rice's a lot!


One more thing to do differently, I would omit the salt.  Because I used chicken soup base with water, instead of chicken broth.  It was a little bit too salty.

I give it four stars, because I really liked it.  The fifth star will come with my changes next time.  It was really filling and stored well.  I'll be finishing it for lunch today.  Totally restaurant quality soup.

Do you have a favorite soup?  
Do you serve soup as a side or main dish?

Thursday is our scheduled Soup day, so this will be going on my Thursday menu.


Saturday, October 23, 2010

I am determined to get good at yeast bread

As a result of that determination, I have been making a lot of bread.  See...
Potato Buns
Cinnamon Rolls
Sweet White Bread
French Bread
Honey Whole Wheat Bread

Biscuit Dough


I have learned a lot.  First of all, I really like the taste of home made bread.  Secondly, when I am good about thinking ahead, I'd rather bake the bread than buy it.  And thirdly, bread making is an art form!

I recommend reading about the process of 
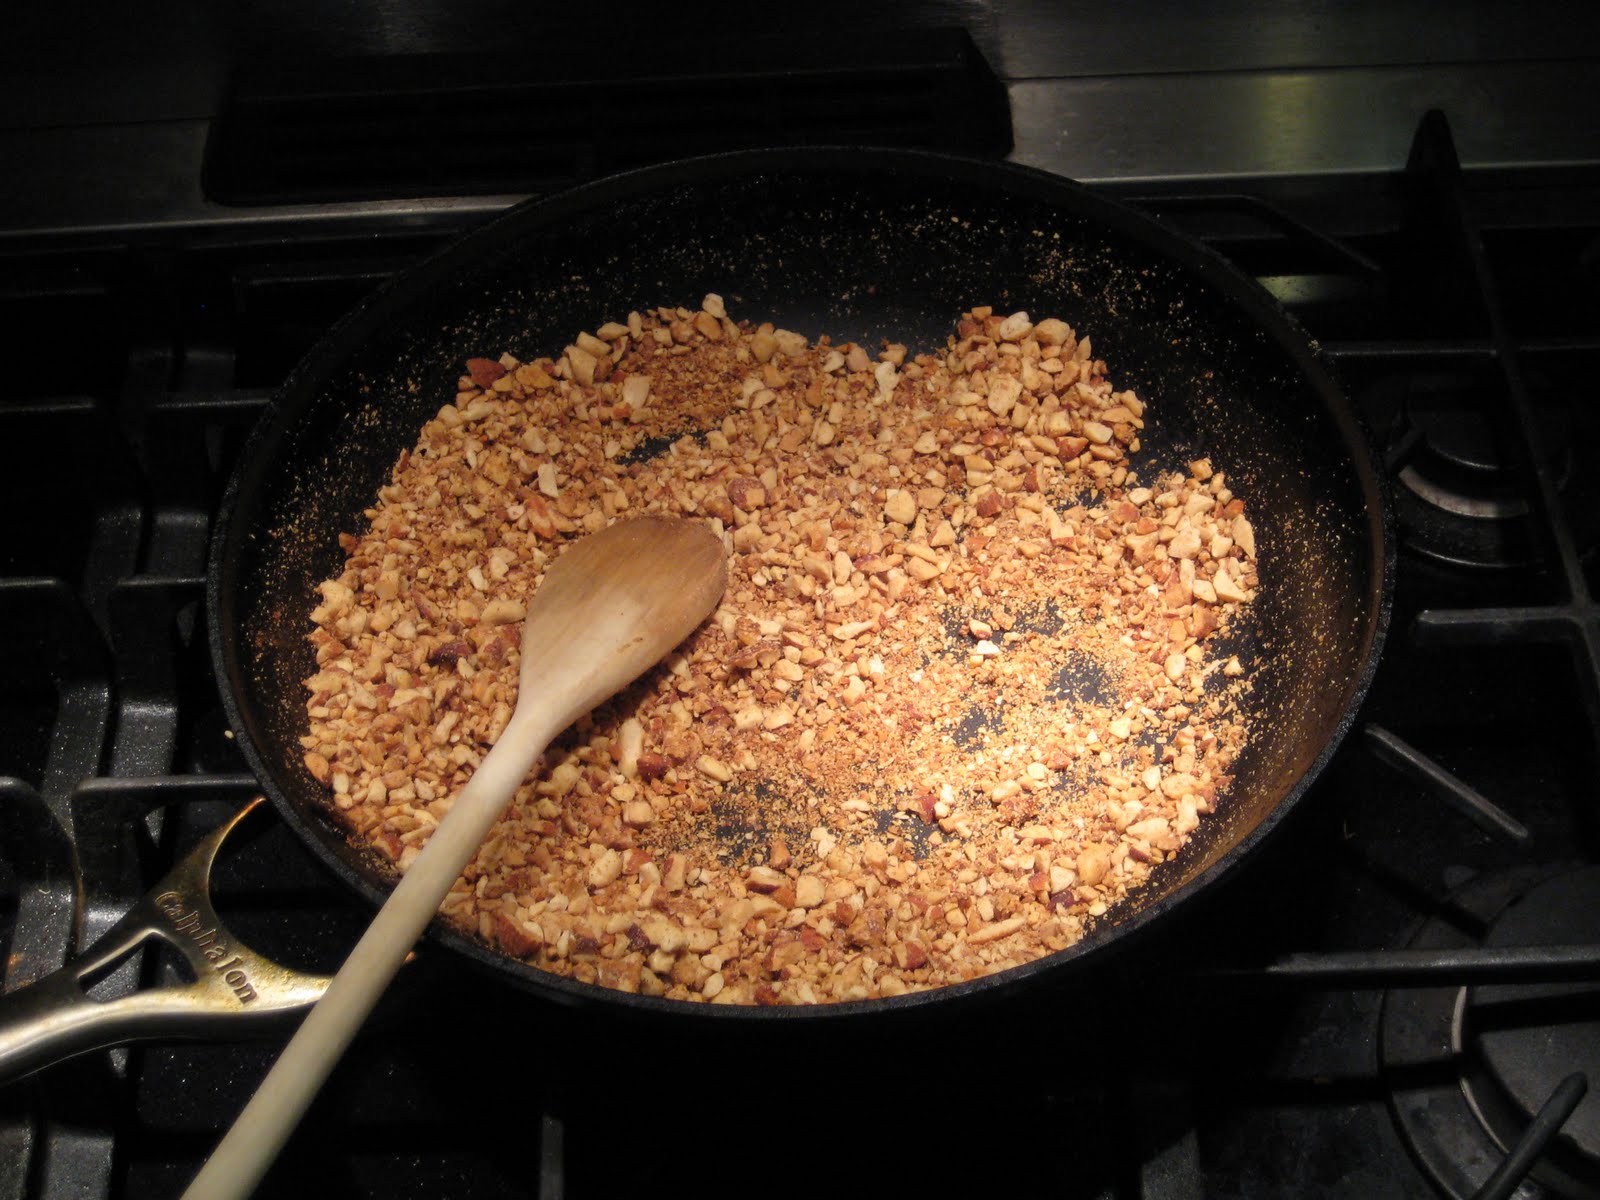
sponging.  That article is pretty in depth.  There are plenty more.  Sponging the dough basically allows the process of fermentation to occur before the bread rises.  It adds a distinct and stronger flavor than just letting the bread rise by itself.  It also leaves you with only the need to rise the finished dough one time.  If you've ever had Amish Friendship bread, this helps make sense of the process a little bit.  A long time to ferment changes the taste.  Think in terms of beer.  A better fermentation, a better brew (or so I've heard, though nobody has been kind enough to spike my drink yet, so I may never actually know.)

This process is good for breads like sourdough, and French bread.  It is also helpful in a bread that takes a long time to rise because of a stiffer grain, like whole wheat flour.

My favorite new bread recipes:
French Bread (she has another of the same recipe, without sponging.  Do the sponged one!)
Honey Whole Wheat Bread (again with the sponging)
Perfect Cinnamon Rolls
Potato Buns
Sweet White Bread
Biscuits

I made the buns, following the recommendation to leave overnight.  This was the most time consuming of the recipes I tried.  Totally worth it!  They came out perfect both in looks (aren't they pretty?) and texture and taste.  I made some into hot dog buns, some into sandwich rolls, and some into dinner rolls.  They kept for four days and were really good every time.  I don't know how much longer they would have kept, because we ate them all!

I'll follow with a post on the Sweet White Bread and the Biscuits.  I can give pictures and step by step instructions.  These are both recipes that I've altered and tweaked so much over the years, I couldn't tell you where they came from or what the original looked like.  For me, they turn out perfect just about every time.

Do you like to bake bread?
Are you good at it?
What is your favorite yeast bread recipe?
Have you heard of sponging or tried it before?
Wanna see any of these in a step by step pictorial?


Go to Allrecipes.com, dealstomeals.blogspot.com, and pioneerwoman.com to find most of my favorite recipes.  

Monday, May 24, 2010

Baby Food 101

I have three children.  All of them have been babies at one time or another.  Feeding a baby is like feeding a bottomless pit.  A tiny, needy, chubby, likely to throw it at you, bottomless pit.  I find that all quite adorable.

With my first two, I just bought Gerber until I could give them smaller versions of what the rest of the family ate.  #1 Didn't like baby food until she was eight months old.  #2 Loved it.  In order to feed a baby what they need, you go through nearly six ounces of pureed stuff every day.  More on days they don't nap, or you're out on the town, or they throw an unusual number of tantrums.  Those amounts double by the time they are a year old.  I figure if I buy it all, I spend about $1.50 per meal just on the purees and cereals. That adds up fast, and doesn't include formula or milk, snacks, crackers, etc.

So...I bought a food processor.  Not this one which I use for much bigger, family friendly things.  This one
 (only I wish I knew they came in so many colors! Mine is just silver and black.  Sur la Table has it in brights like yellow, green, orange and red)  It's three cups and cost me only $25.  That's the perfect size to puree a serving or two of whatever we're eating.

So my first lesson on making your own baby food is to use what you already have.  If I'm serving pasta, I just take a serving spoon and scoop up enough to feed baby.  Puree it for about twenty seconds, add water if needed for consistency, and voila!  Dinner for Baby Chef.

Next lesson comes next Monday, if I have time.

Baklava

Around my eighteenth birthday, I took a trip with my parents to Greece.  We spent about two weeks traveling through Athens and the nearby islands.  It was wonderful!  One of my favorite things was eating massive amounts of pastry and a dessert called baklava.

If you've read my blog much, you know that I don't approve of baking nuts into dessert.  This is my one exception.  You can't make Baklava without nuts, and you wouldn't want it any other way.

It's a layered dessert, and it's as simple to assemble as lasagna.  I used this recipe.


Ingredients

  • 1 (16 ounce) package phyllo dough
  • 1 pound chopped nuts
  • 1 cup butter
  • 1 teaspoon ground cinnamon
  • 1 cup water
  • 1 cup white sugar
  • 1 teaspoon vanilla extract
  • 1/2 cup honey

Directions

  1. Preheat oven to 350 degrees F(175 degrees C). Butter the bottoms and sides of a 9x13 inch pan.
  2. Chop nuts and toss with cinnamon. Set aside. Unroll phyllo dough. Cut whole stack in half to fit pan. Cover phyllo with a dampened cloth to keep from drying out as you work. Place two sheets of dough in pan, butter thoroughly. Repeat until you have 8 sheets layered. Sprinkle 2 - 3 tablespoons of nut mixture on top. Top with two sheets of dough, butter, nuts, layering as you go. The top layer should be about 6 - 8 sheets deep.
  3. Using a sharp knife cut into diamond or square shapes all the way to the bottom of the pan. You may cut into 4 long rows the make diagonal cuts. Bake for about 50 minutes until baklava is golden and crisp.

  4. Make sauce while baklava is baking (Remember, I made this ahead, and used it cold.) Boil sugar and water until sugar is melted. Add vanilla and honey. Simmer for about 20 minutes.
  5. Remove baklava from oven and immediately spoon sauce over it. Let cool. Serve in cupcake papers. This freezes well. Leave it uncovered as it gets soggy if it is wrapped up.

There's really no point in copying the nutritional information, it's sad and depressing to look at the calories of such a beautiful dish.

I followed the directions almost exactly, because I'd never made it before.  I did however take three days to make it.  I'll explain.

First, I chopped the nuts in my food processor.  I used the nuts I had in my cupboards.  Peanuts, Candied Cashews, and Almonds.  Then I realized I hadn't thawed my frozen phyllo dough, and left the nuts on the counter until the next day.  Then I put the dough in the fridge to thaw.

Then next day, I prepared the honey sauce.  Then, because some of the All Recipes reviewers suggested using a cooled sauce, I put that in the fridge and waited until the next afternoon to assemble to whole thing.  I also took another reviewers suggestion and roasted the nuts with the cinnamon.  Do that.  

I tried a piece directly after the honey shower while it was still warm, and it was not nearly as good as the cooled version a few hours later.

Hubby didn't like nuts, even in this.  He's might be culinarily challenged.  It made about 30 large pieces. I could have halved each one again.  I froze all but two plates (ten pieces), one of which I am not ashamed to admit I ate.  The other went to a friend.  I took another two plates from the freezer later that week and served them at a church meeting.  Another went to someone's birthday party.  A hit every time!

Failed Enchildadas

So I make chicken enchiladas a lot.  I also make Pineapple Enchiladas from here.  They are delicious, and a great meatless substitute.  So, being the culinary genius that I am, I decided to mix the pineapple enchilada recipe, with chicken.  How could that go wrong?  Glad you asked...

To destroy an enchilada:

Step 1 - Combine Pineapple juice, with the already very acidic enchilada sauce.

Step 2 - Add cooked chicken.

Step 3 - Cook them together for 35 minutes or longer.

The result should be a disgusting mush of enchilada flavored chicken pulp.  Really it's an experience I'll never forget.

I was in a wonderful mood that evening.  It was pushing seven o'clock by the time I even got the enchiladas in the oven. The children insisted that they were starving, and I'm just mean enough to make them wait until the food comes out.  I can't eat with them, the baby needs a bottle.  So I serve them up generous portions of my delicious smelling creation.  Li'l Chef says "Mom, this has a weird taste."  I say quit complaining and eat what I made you.  Li'l Chef continues, "It's really weird.  Something's wrong with the chicken."  I'm sure I said something like "Oh Sweetheart, I'm sure you're right.  Why don't you find something better to eat."  Somehow, whatever that last comment really said, made her cry.  "It's gross."

So she waits, patiently, being a keen observer of my mood and the point of my rope by which I was holding on.  It was the end, in case you were wondering.

Baby fed, girls not eating, I decide to eat anyway.  Serve it up with a big dollup of sour cream and take a large bite to prove how delicious it was.  Said bite is immediately spit into the sink.  I spit out my own dinner.  I apologize for being a mean-o.  That was in fact gross.  As it turns out, chicken can be dissolved by pineapple juice.  This chicken was a weird chalky mush.  The weird chalky mush mixed with the weird chalky mush of cheese.  DO NOT TRY THIS AT HOME!

We had cereal and went to bed.  Li'l Chef laughed as I kissed her good night, "You were mad, but I knew it was gross.  I wasn't just being rude."  I conceded.